
 en
 English
 Español

 Structural Strengthening System Service Provider
Product
Company
News


Content
An isolation joint is a full-depth separation between two concrete elements that allows each one to move on its own. If you have looked at a warehouse slab meeting a steel column, or a bridge deck meeting an abutment, you have probably seen one: a narrow, straight gap filled with a compressible material and usually sealed at the top.
That is the short answer. The longer answer is that isolation joints sit behind a lot of the durability problems we get called out to look at, from cracks radiating out of column bases to spalled slab edges and water finding its way into a footing. Most of those problems trace back to a joint that was detailed loosely, sealed badly, or left out altogether. Here is what an isolation joint does, how it differs from the other joints on the drawing, and what matters when you install or repair one.
An isolation joint is a complete break in the concrete between two elements that are expected to behave differently. Nothing crosses the joint: no aggregate interlock, no dowels, no continuous reinforcement. A compressible filler board runs the full depth of the section, and the top is normally sealed to keep water and grit out.
Three things define it:
Because it is a true separation, an isolation joint always sits at a boundary: slab to column, slab to wall, deck to abutment, pavement to kerb, machine base to floor. It is less about the concrete itself and more about the line where two things that should not be stitched together meet.
The confusion is easy to understand. On a drawing almost every joint looks like a gap, and the names are used loosely on site and in specifications.
| Joint type | Main purpose | Load transfer | Typical location |
|---|---|---|---|
| Construction joint | Planned stopping point between pours | Usually yes, via keys, dowels or bonding | End of a pour, wall lifts, columns |
| Contraction joint | Weakened plane so shrinkage cracks run straight | Sometimes, by aggregate interlock or dowels | Slabs on grade, pavements, walls |
| Expansion joint | Room for the structure to grow with heat and moisture | Often yes, with sliding or compressible details | Bridge decks, long walls, large pavements |
| Isolation joint | Separates two elements that must move independently | No, deliberately none | Slab to column, slab to wall, deck to abutment |
The takeaway: a construction joint is about how you build, a contraction joint is about where you want the concrete to crack, an expansion joint is about how much the structure grows, and an isolation joint is about keeping two elements apart. Larger projects routinely use all four within a few metres of each other, which is exactly why the details need reading before anyone starts setting out.
In practice, isolation joints appear wherever two elements differ in mass, foundation conditions or exposure:
When a base plate or equipment pad is isolated from the slab around it, the pad still has to be grouted solid and level before the equipment goes down. That is a separate job from the joint itself, but the two are usually specified together.
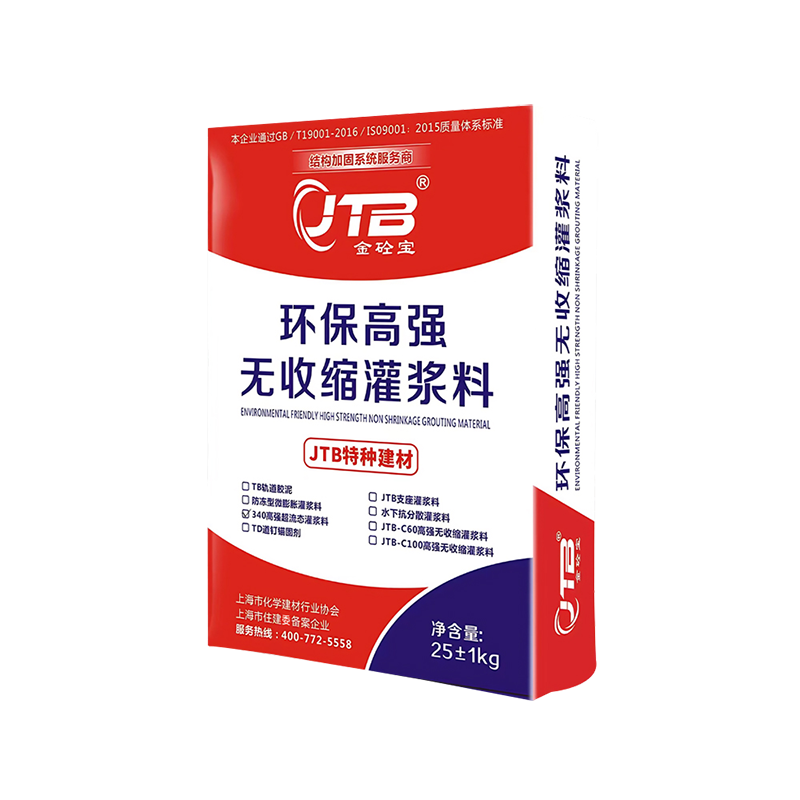 High-Strength Ultra-flow Non-shrink Cementitious GroutA non-shrink, high-flow grout for grouting pads and foundations, useful when equipment pads must be set solid and level before installation.View Product →
A typical isolation joint is built from a few simple components:
Dowels and tie bars are deliberately absent. Where a slip dowel is used, it is sleeved on one side so the movement stays free. Sealing is where most joints fail early: a sealant that is too stiff, too thin, or applied over a damp, dusty edge will debond within a year. Where a joint has to be closed and put back into service quickly, a fast-curing sealant that reaches working strength within hours is usually the practical choice.
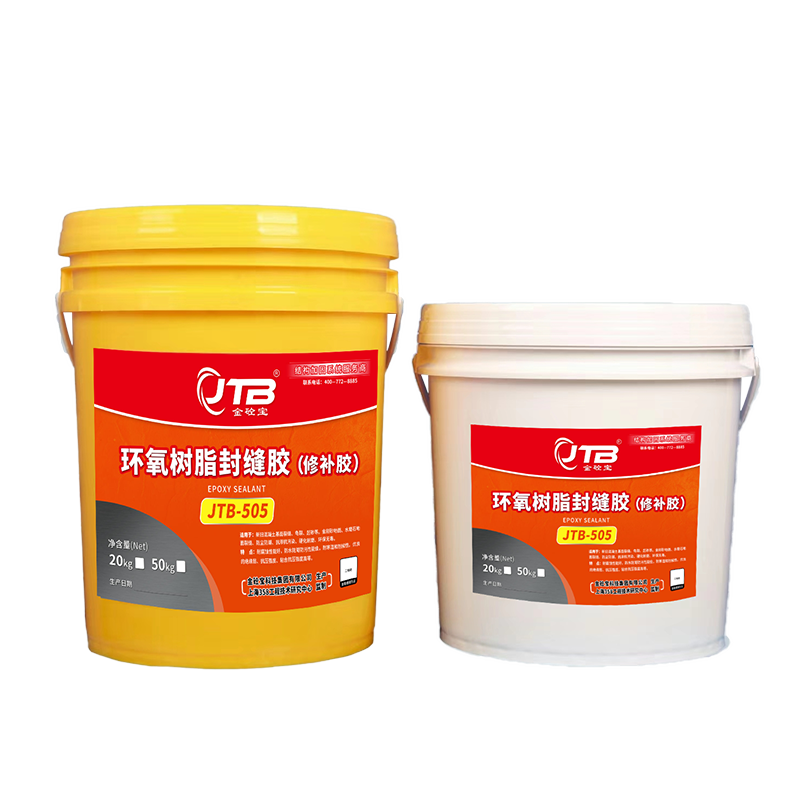 JTB-505 Fast-Curing Crack Sealant for Concrete JointsA high-hardness sealant that cures quickly and bonds to concrete and steel, suited to sealing cracks and joints that need fast return to service.View Product →
The sequence is not complicated, but the tolerances are tight and small lapses are expensive to put right later.
Isolation joints fail in a few predictable ways. The sealant debonds or tears, grit collects in the gap and stops the movement the joint was designed for, the edges spall under wheel loads, and water gets in and works on the reinforcement below. Left alone, a small sealing defect turns into a repair that involves breaking out the slab edge.
The repair usually has two parts: cleaning out the joint and re-sealing, then reinstating the damaged concrete at the edges with a compatible repair mortar that bonds to the existing substrate and matches its movement characteristics. If you want the sequence in detail, our step-by-step guide to using concrete repair mortar covers surface preparation, mixing and curing.
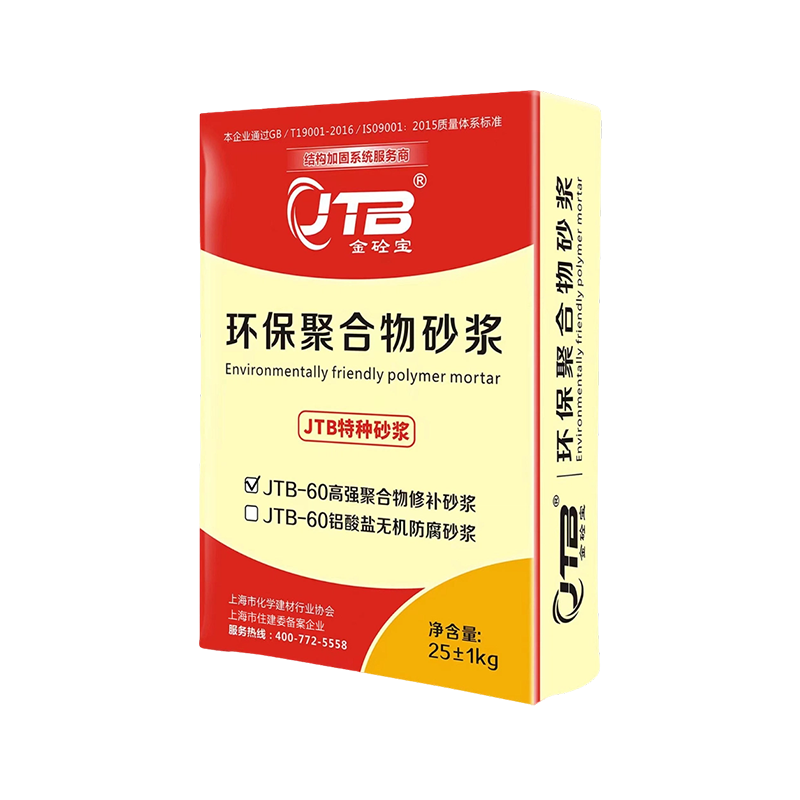 JTB Polymer Repair Mortar for High-Strength Concrete SurfacesA polymer-modified repair mortar with high bonding and crack resistance, useful for reinstating damaged concrete edges before joint sealing or movement detailing.View Product →
Not quite, although the terms overlap in some regions and some specifications. An expansion joint accommodates the movement of one structure, usually thermal growth, and often still transfers load. An isolation joint separates two structures completely so they can move independently in any direction.
Width depends on the expected movement and the size of the elements, but 10 to 25 mm is typical for building slabs. Whatever the width, the filler has to be compressible enough to absorb the movement without the two faces coming into hard contact.
The restraint has to go somewhere. You typically see random cracking radiating from the corner of the column or wall, or a clean crack along the line where the joint should have been. Either way it is far more expensive to fix once the slab is in service.
An isolation joint is one of the simplest details on any concrete drawing and one of the easiest to get wrong. The principle is straightforward: if two elements need to behave independently, give them a clean, full-depth break, fill it with something compressible, and seal it so it keeps working. Get it right and nobody notices it for decades. Get it wrong and it will be the first thing everyone notices.
If you are working through the detail on a specific project, our team is glad to talk through materials, joint widths and repair options. You can also see how we approach slab, pavement and structural interfaces across our municipal and civil engineering systems.
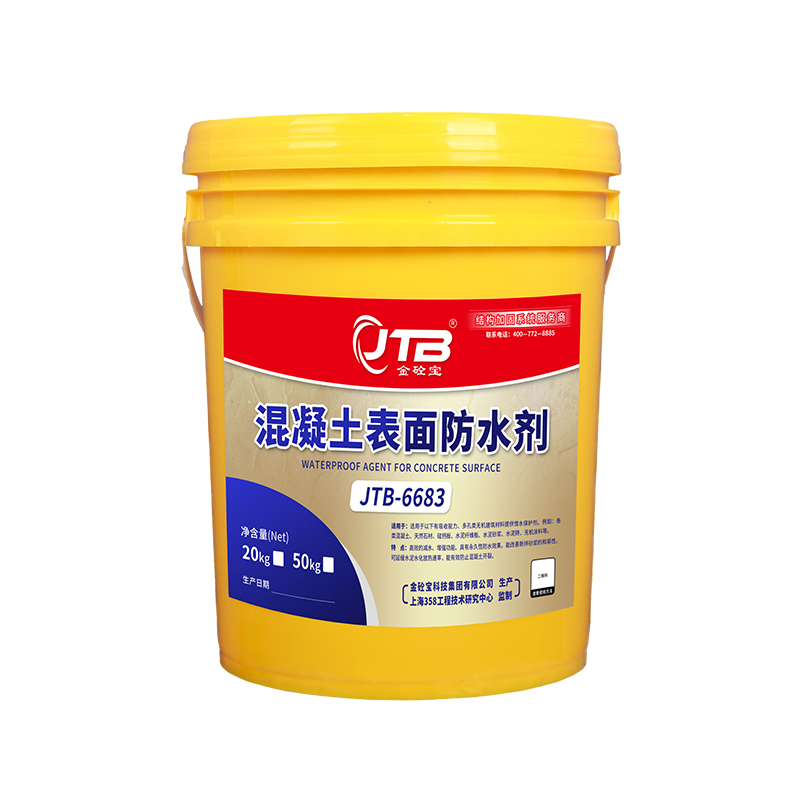 Concrete Waterproofing Admixture
VIEW MORE
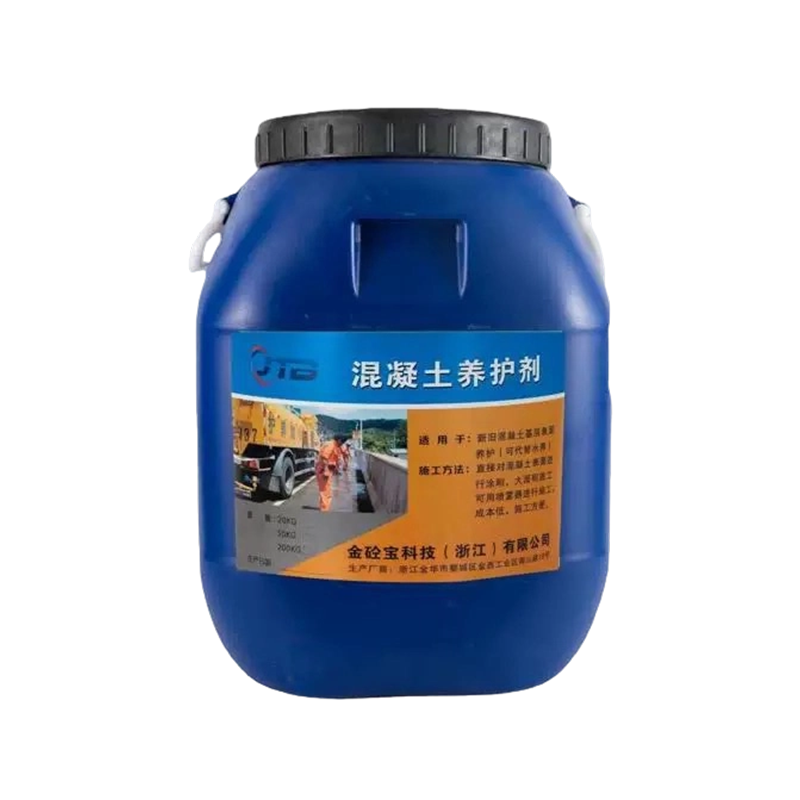 Concrete Curing Compound
VIEW MORE
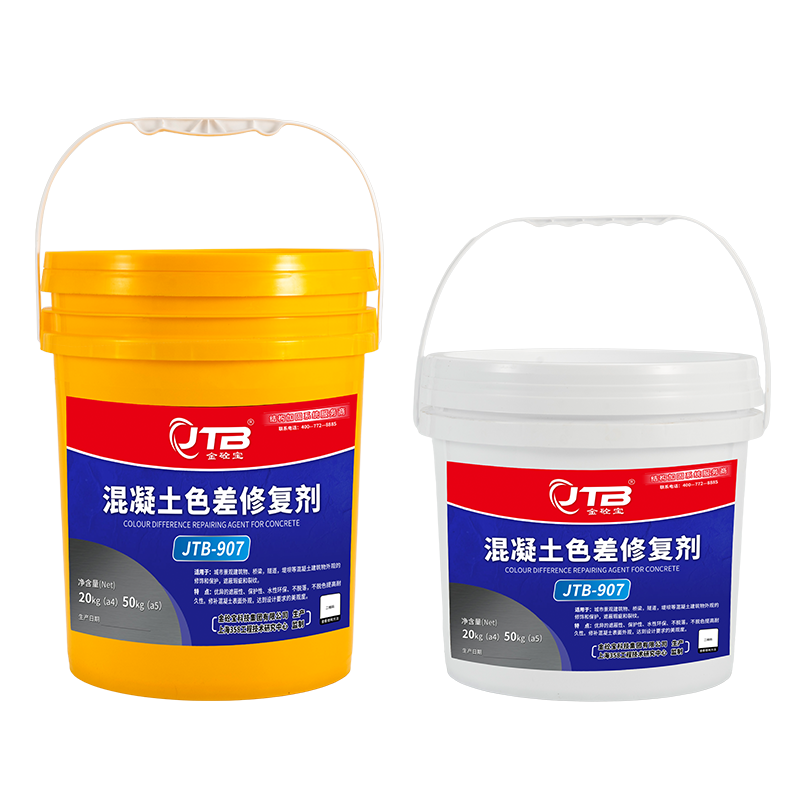 Concrete Color Repair Agent
VIEW MORE
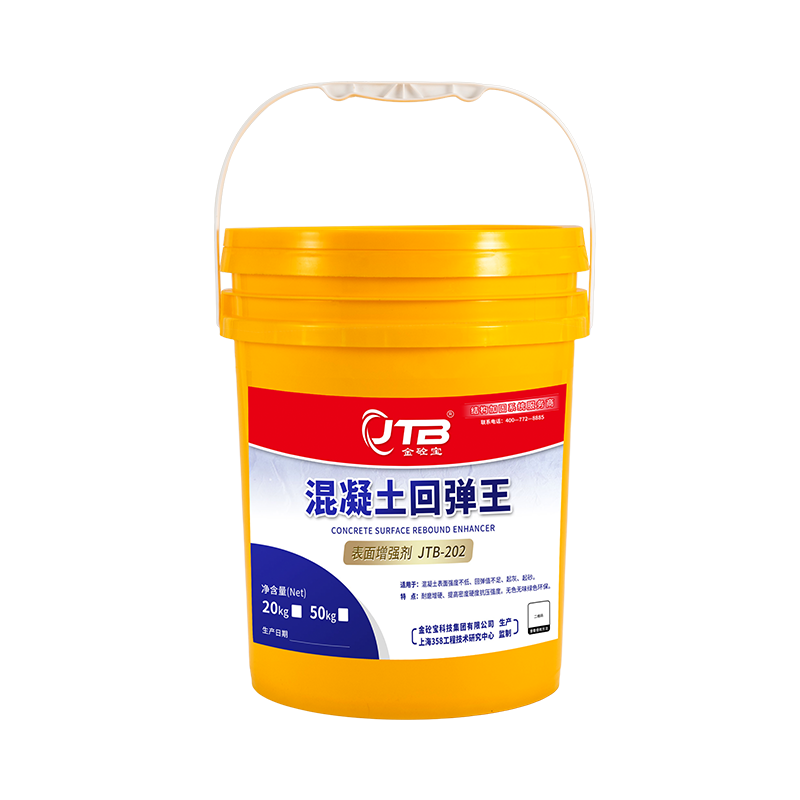 Concrete Surface Strengthener
VIEW MORE
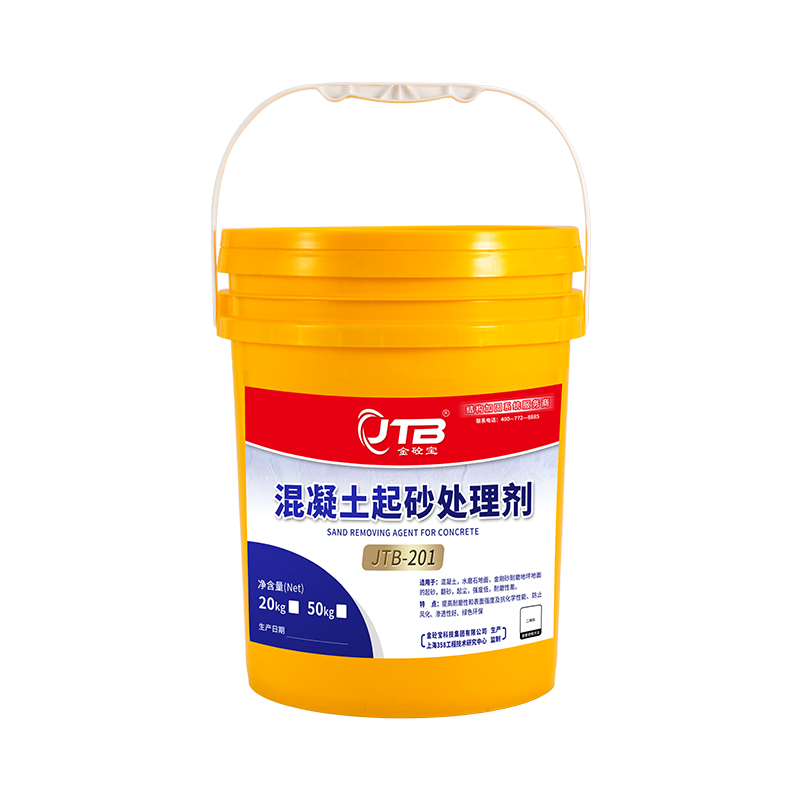 Concrete Surface Hardener
VIEW MORE
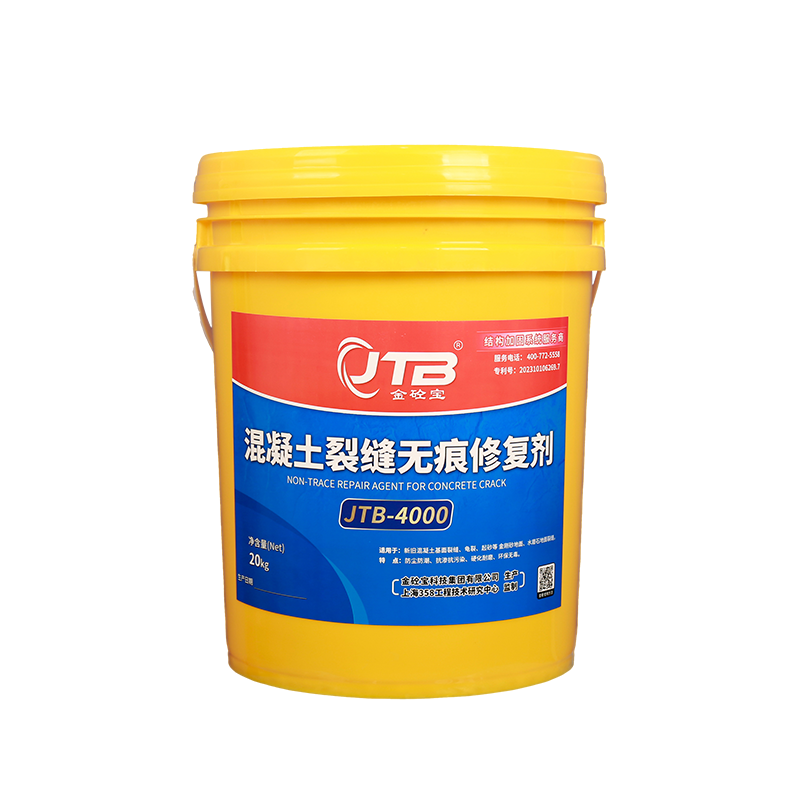 Concrete Crack Repair Agent
VIEW MORE
Fast-Curing Crack Sealant
VIEW MORE
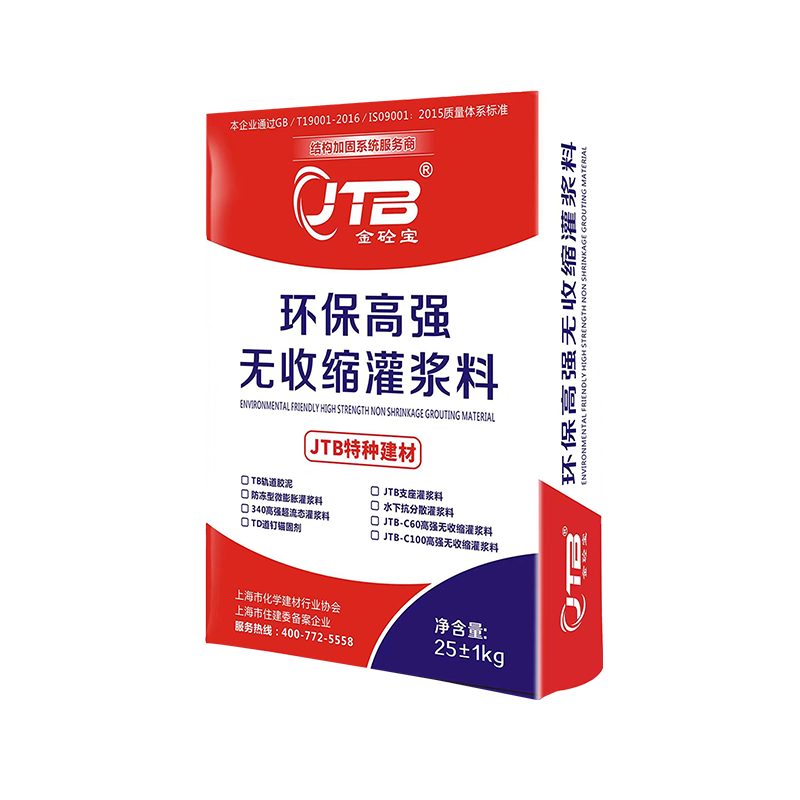 Eco-Friendly High-Strength Non-Shrink Grout
VIEW MORE
Precision grouting differs from standard concrete grouting primarily in aggregate size, flow behavior, and shrinkage co...
READ MORETechnical Engineering Insights Comprehensive Chemical & Mechanical Guide to Concrete Admixtures Modern concrete de...
READ MORECold joints in concrete slabs raise a fair amount of concern on site, and often they appear when the schedule is alread...
READ MOREMaterial Science & Construction Water, Stone, and Polymer A close reading of how Polymer-Modified Cementitious Mort...
READ MORE
JTB technology group is a one-stop structural strengthening system service and solution provider with more than 10 years of industry experience.

+86-138 6245 1066
400-772-5558

sales@jtbmaterials.com

Qianjin Hebei Road, Dantu District, Zhenjiang City, Jiangsu Province, China
Copyright © JTB Technology Group Co. , Ltd.All rights reserved.
Cutsom Construction Chemicals & Reinforcement Materials Manufacturer

