
 en
 English
 Español

 Structural Strengthening System Service Provider
Product
Company
News


Content
Concrete looks like it never moves, but it does, constantly. It shrinks as it cures, swells in summer heat, contracts in winter cold, and shifts with whatever soil sits underneath. Joints exist so that all of this movement happens where you planned for it, instead of at random cracks that appear a month after the pour and keep widening.
That is why spacing matters. Set joints too far apart and the slab relieves its own stress by cracking. Set them too close and you spend extra labor cutting, filling, and sealing weak planes that never needed to exist. Fortunately, there is a well-tested rule of thumb that covers most slabs, and it is easy to remember.
For a slab on grade, no joint should sit farther from the next one than two to three times the slab thickness in inches, and you read that result as feet. A few examples make it obvious:
If you want a more generous margin, NRMCA's CIP 6 guidance puts maximum joint spacing at 24 to 36 times the slab thickness, which lands in the same territory. Metric-based practice commonly runs at roughly 40 times the thickness, so a 100 mm slab works out to about 4,000 mm, or 4 metres.
All three versions say the same thing: the thicker the slab, the wider the spacing can be. Thin slabs dry faster, curl more easily, and offer less resistance to shrinkage stress, so they need joints closer together.
On site, these terms get used loosely, and that is where a lot of bad spacing advice comes from. It is worth separating the three.
These are the joints you saw-cut or tool into the surface, usually to about one-quarter of the slab thickness. Their job is to create a deliberate weak plane so shrinkage cracking happens along a straight, hidden line instead of across the middle of a panel.
These are full-depth, full-width joints that let a slab move independently of something else: a building foundation, a bridge abutment, a manhole, a drainage inlet, or an older pavement. They are normally one-half to one inch wide and filled with a compressible pre-formed filler so grit cannot pack the gap and lock the slab in place. Where traffic crosses the joint, dowels with closed-end expansion caps carry the load while still allowing movement.
These are simply planned stopping points between pours. They are a scheduling decision, not a spacing one.
The table below pulls the most common guidance together. Use it as a sanity check when you are marking out a slab or reviewing someone else's layout.
| Joint type | Typical spacing | Main purpose |
|---|---|---|
| Control / contraction joint | 2 to 3 times slab thickness in feet (24 to 36 times thickness in inches) | Directs shrinkage cracking |
| Expansion / isolation joint | At perimeters, structures, and changes in geometry | Allows independent movement |
| Pavement expansion joint | Historically 50 to 500 ft, now largely avoided | Absorbs large seasonal movement |
| Building expansion joint | Roughly 150 ft in long structures | Relieves thermal movement |
That third row deserves attention. Spacing regular expansion joints across a pavement every few hundred feet is an older practice. Modern pavement design leans far more on contraction joints, plus isolation joints at structures, because routine expansion joints tend to let slabs migrate and let transverse joints open too wide, which leads to pumping, spalling, and corner breaks.
The rule of thumb is a starting point, not a code requirement. Several conditions push the number up or down.
Thicker slabs tolerate wider panels. Long, narrow panels behave differently from square ones, so keep panel lengths from running away; a panel that is far longer than it is wide will crack across the short dimension first.
Where seasonal temperature ranges are wide, thermal movement is larger and joints need room to work. In consistently mild climates, shrinkage dominates the equation instead.
A well-compacted, uniform base lets a slab slide as it shrinks. A rough, uneven, or heavily restrained base drags on the slab and concentrates stress, which argues for tighter spacing and more isolation at fixed points.
Water content is the biggest lever. Lower water-cement ratios, good aggregate grading, and shrinkage-reducing admixtures all reduce the movement a joint has to absorb. Reinforcement holds cracks together and limits how wide they open, but it never removes the need for joints; reinforced slabs are still designed around a planned joint pattern.
Expansion and isolation joints earn their place wherever a slab meets something that will not move with it. In practice, that means:
For infrastructure work, the surrounding system matters as much as the joint itself, because pavement tying into a bridge deck or tunnel approach must accommodate movement at both ends of the transition. That is the kind of detailing our engineers work through on bridge and tunnel engineering projects.
Different parts of a project follow slightly different habits, but the arithmetic stays the same.
Municipal corridors often combine all three cases within a few hundred metres, which is why we treat municipal and civil engineering systems as a system-level problem rather than a shopping list of materials.
Spacing gets the attention, but detailing and maintenance decide whether a joint still works five years later.
When a joint edge has already opened into a working crack, closing it quickly keeps water out of the slab and stops the damage from spreading. A fast-curing crack sealant is normally enough to shut that path before the crack is injected or bridged.
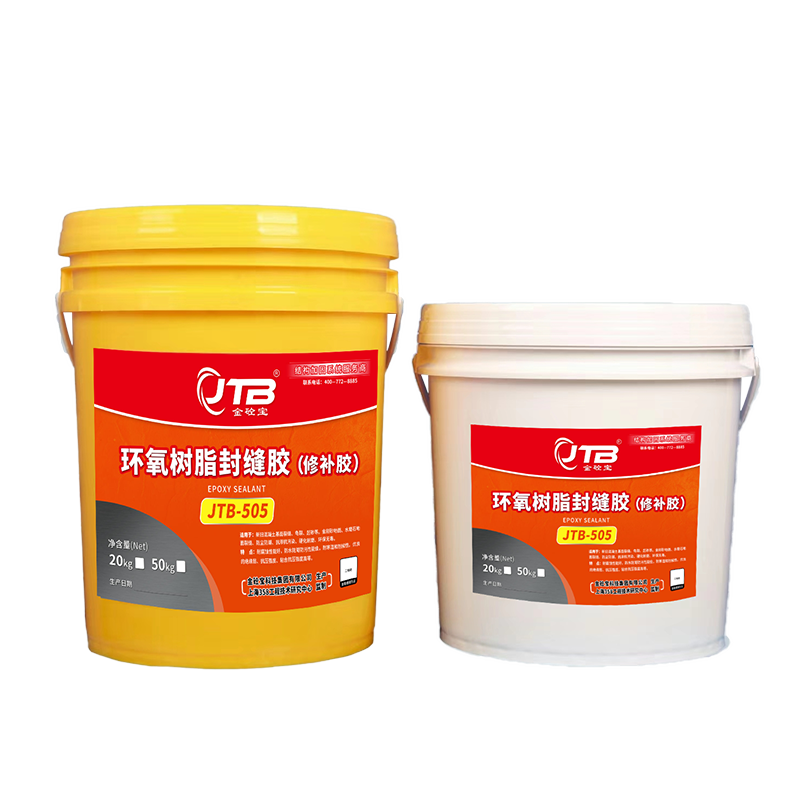 Fast-Curing Crack Sealant for Concrete JointsThis sealant is ideal for closing active cracks quickly, with high hardness and strong adhesion to concrete and steel. It cures fast, protecting the repair while it sets, suitable for low-temperature and time-sensitive pavement work.View Product →
After sealing, the repair still needs protection while it cures, particularly on pavements where traffic returns within hours.
Joints spaced too far apart, or isolation joints left out where they were needed, tend to fail in recognizable ways.
Cracks appear in the middle of panels rather than at the joints, often within the first few weeks. Once a crack is wider than a hairline, it should be injected to restore load transfer and keep water out of the subgrade. Low-viscosity epoxy injection resin is the usual choice because it penetrates narrow cracks and cures to a hard, load-bearing solid.
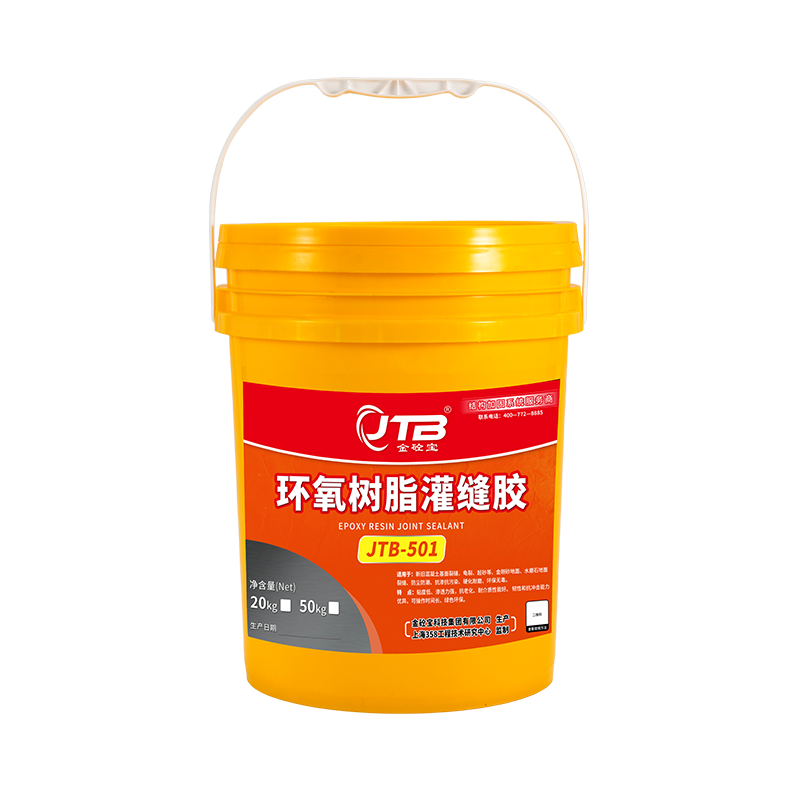 Epoxy Injection Resin for Structural Crack RepairA low-viscosity resin that penetrates narrow cracks in concrete slabs, restoring load transfer and keeping water out. It offers high strength and toughness, and is commonly used on bridge decks, pavements, and other structural elements.View Product →
Broken shoulders and crumbling corners usually follow a joint that has widened and lost support underneath. Restoring the profile while the surrounding concrete is still sound is far cheaper than replacing a panel, and a rapid-setting mortar lets you rebuild the edge and reopen the surface to traffic quickly.
 Rapid Repair Mortar for Concrete PavementSpecifically formulated to restore distressed pavements with spalling, scaling, and exposed rebar, this mortar allows traffic to reopen within two hours. It offers high bonding strength and durability, making it cost-effective for rebuilding broken edges and corners.View Product →
When slabs migrate and joints open too wide, water pumps out from under the slab, fines wash away, and corner breaks follow. At that stage the fix is structural rather than cosmetic.
Getting expansion joint spacing right is rarely complicated. Start with two to three times the slab thickness in feet, apply it to every panel, then adjust for climate, base conditions, mix design, and the structures your slab runs into. Add isolation joints wherever movement has to be separated, keep the filler and sealant in good condition, and repair cracks and spalled edges before they spread.
Do that, and the slab will crack exactly where you intended, which is the whole point of a joint in the first place.
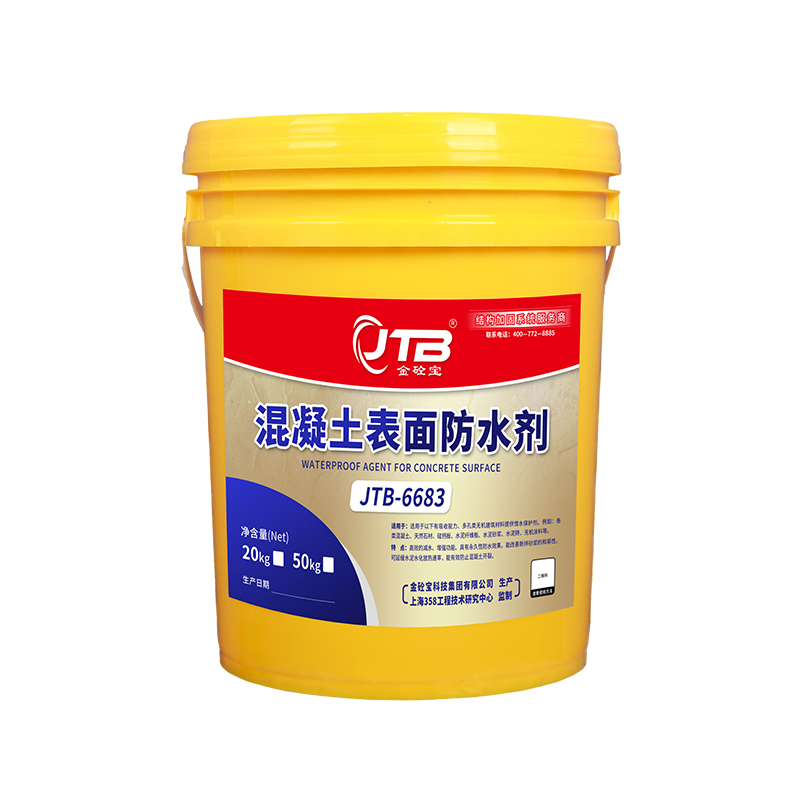 Concrete Waterproofing Admixture
VIEW MORE
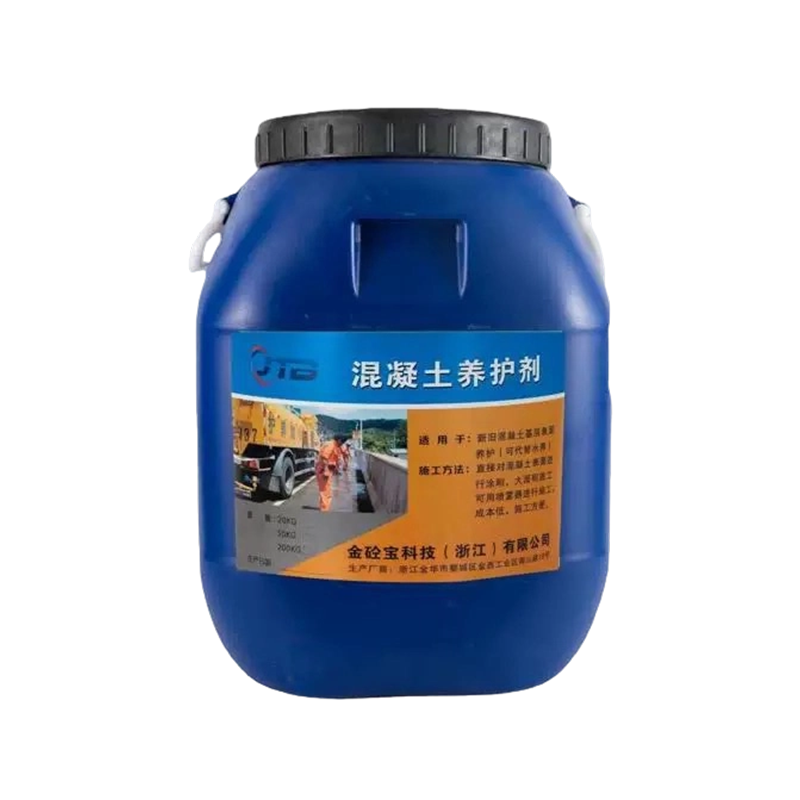 Concrete Curing Compound
VIEW MORE
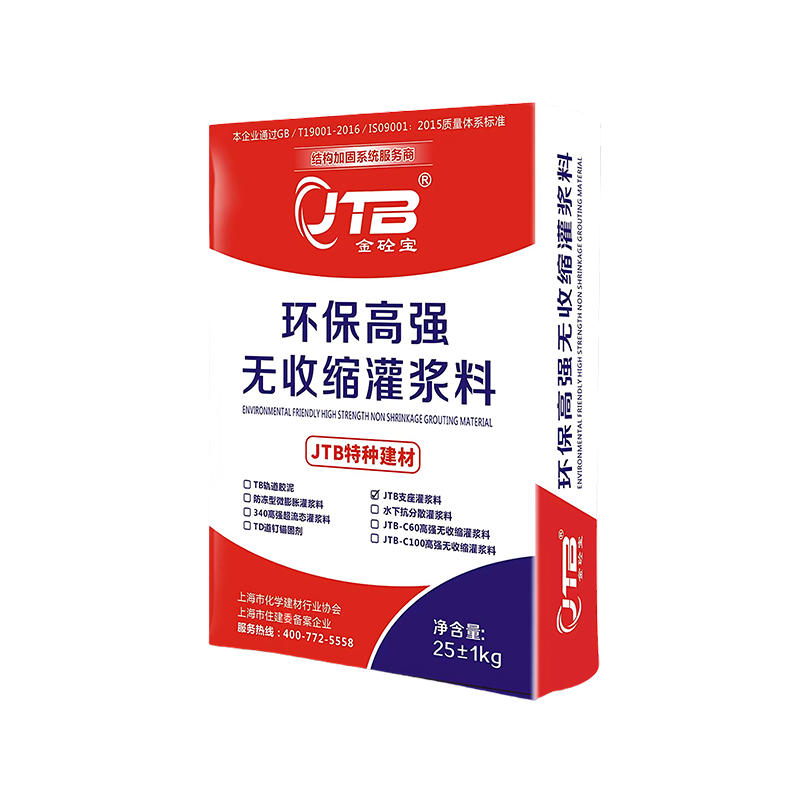 Bridge Bearing Grout
VIEW MORE
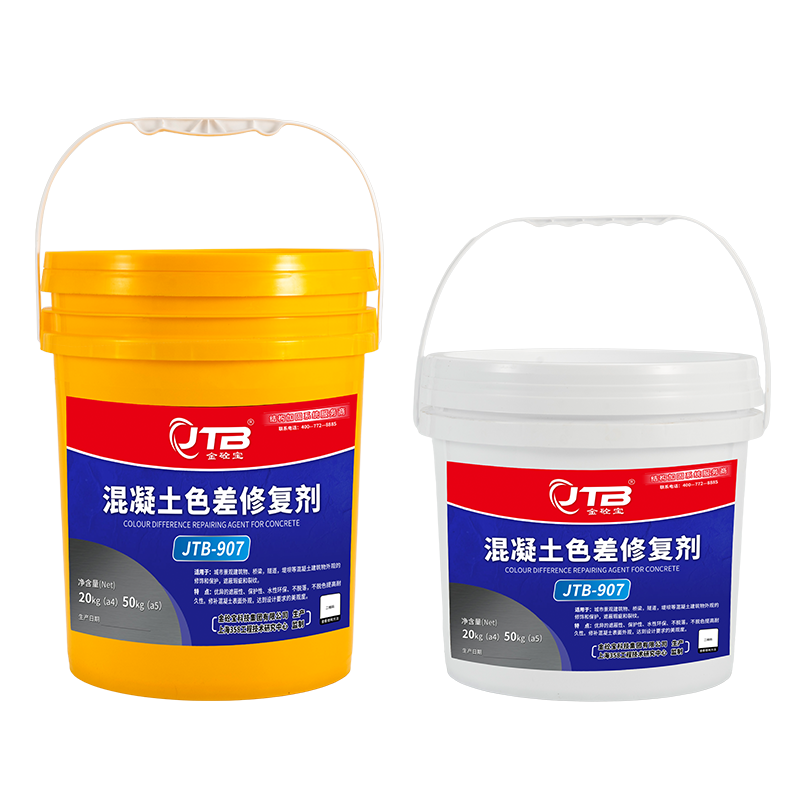 Concrete Color Repair Agent
VIEW MORE
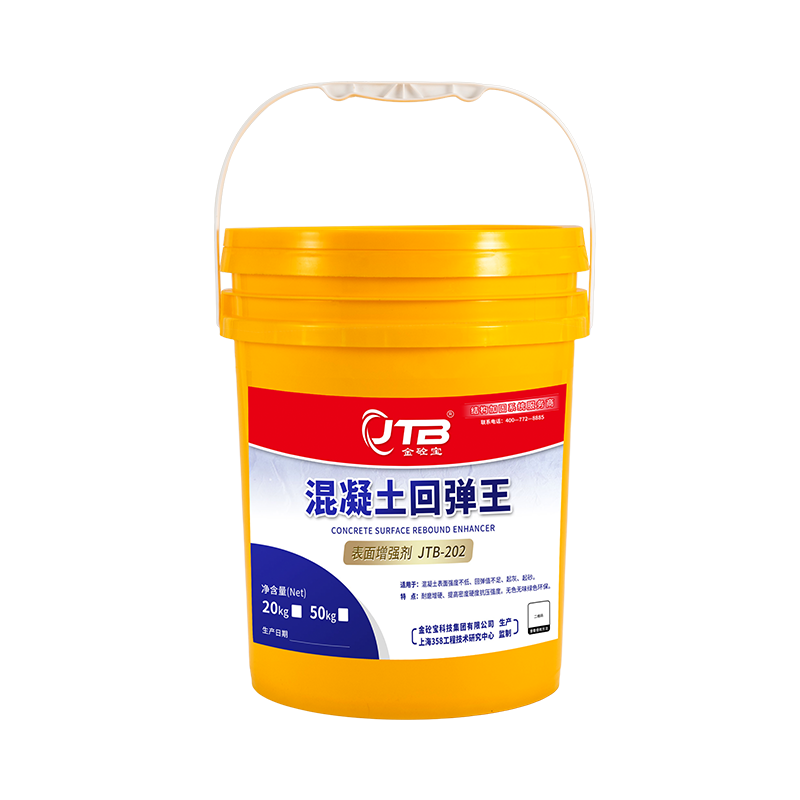 Concrete Surface Strengthener
VIEW MORE
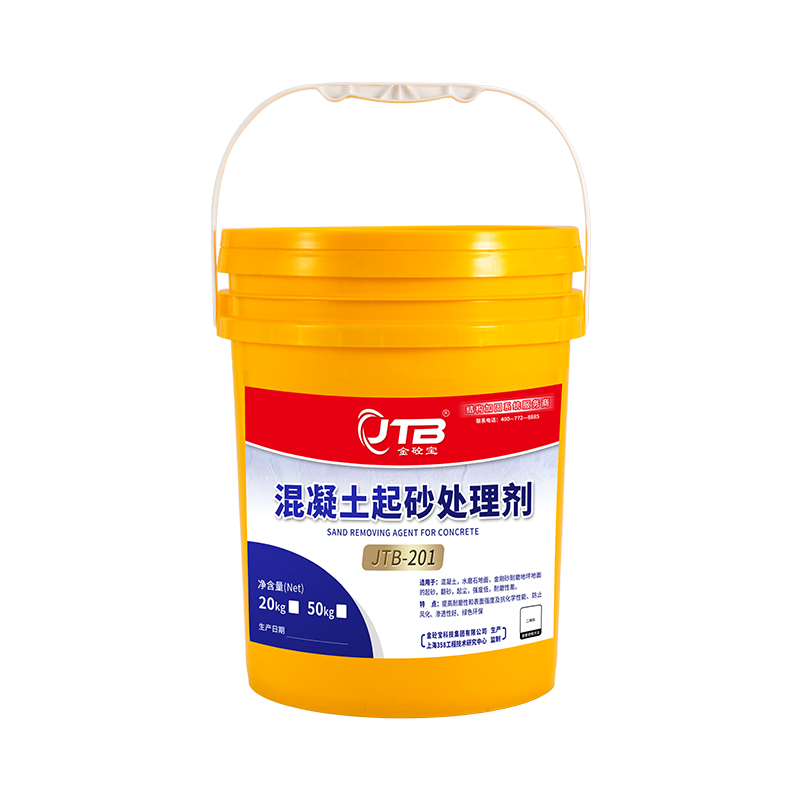 Concrete Surface Hardener
VIEW MORE
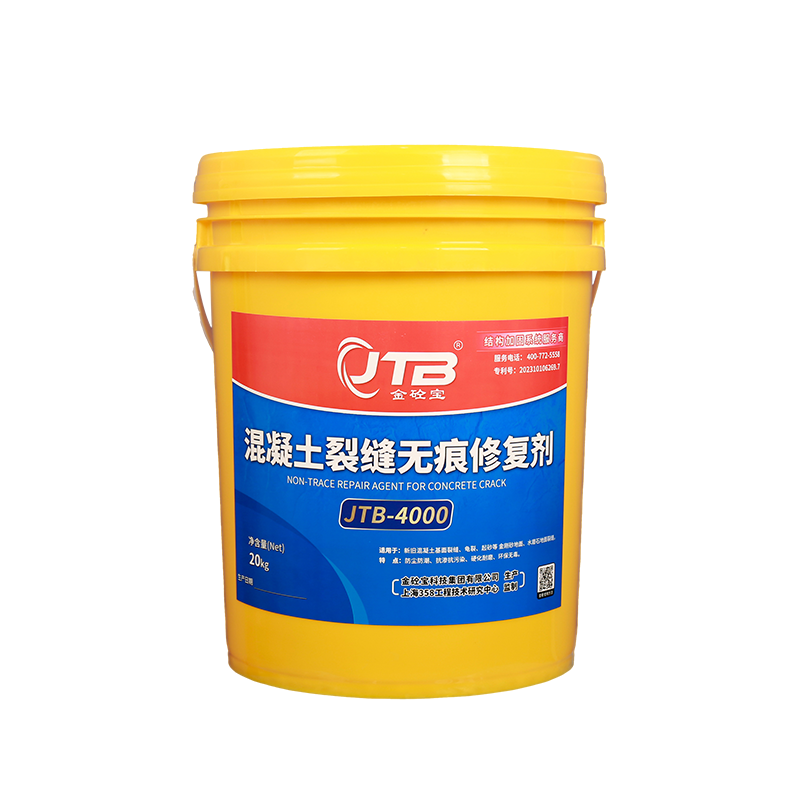 Concrete Crack Repair Agent
VIEW MORE
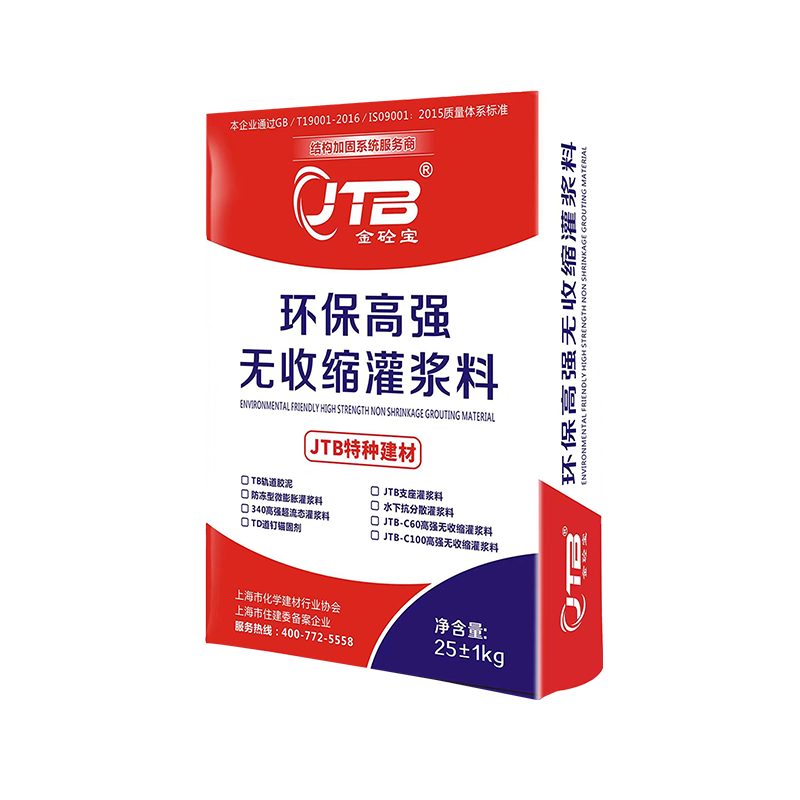 Eco-Friendly High-Strength Non-Shrink Grout
VIEW MORE
There is a reason steel rebar has been used in concrete for more than a century: it is strong, well understood, and ava...
READ MOREIntroduction to Tunnel Grouting Tunnel grouting is a critical process in construction and civil engineering, particularl...
READ MOREA base plate sits 25 mm above a concrete foundation, and every tonne that presses, vibrates, or torques the equipment a...
READ MOREIntroduction to Sulphoaluminate Cement Sulphoaluminate cement, a specialized type of hydraulic cement, is gaining tracti...
READ MORE
JTB technology group is a one-stop structural strengthening system service and solution provider with more than 10 years of industry experience.

+86-138 6245 1066
400-772-5558

sales@jtbmaterials.com

Qianjin Hebei Road, Dantu District, Zhenjiang City, Jiangsu Province, China
Copyright © JTB Technology Group Co. , Ltd.All rights reserved.
Cutsom Construction Chemicals & Reinforcement Materials Manufacturer

