
 en
 English
 Español

 Structural Strengthening System Service Provider
Product
Company
News


Content
Curing concrete is the quiet part of the job. The screed has been pulled, the trowel marks are gone, and everyone on site is already thinking about the next area — but the week that follows the pour is what really decides how that slab will behave for the next thirty years. We have spent years supplying grouts, repair mortars, and admixtures into rail, bridge, water, and municipal projects, and one lesson keeps repeating itself: a beautiful finish on badly cured concrete is a short-lived finish.
This guide walks through what curing actually does, how long to keep at it, which method suits which site, and the temperature traps that catch experienced crews out just as often as first-timers.
Concrete does not harden by drying out. It hardens through hydration, a chemical reaction between cement and water that continues for months, and even years, as long as water is available. Every kilogram of water that leaves the surface too early is water that never took part in that reaction.
So curing is not "waiting." It is the deliberate work of holding moisture in the concrete and keeping the temperature within a range where hydration can proceed at a healthy rate, for a defined period after placement. Two things are being managed at once: moisture loss, and temperature. Miss either one and the mix you paid for will not deliver the properties you specified.
The practical consequence is simple. Concrete left to dry in open air can end up with roughly half the strength of concrete kept continuously moist during the same period. The difference does not show up on the surface in week one, which is exactly why it gets ignored.
Hydration is fastest in the first 72 hours and the surface zone is the most vulnerable part of any element. It has the highest paste content, the most exposure to wind and sun, and the least restraint against shrinkage. When moisture leaves faster than bleed water can replace it, you get plastic shrinkage cracks before the concrete has any tensile strength to resist them.
Beyond cracking, poor curing shows up later as:
On infrastructure work, these surface-level effects are often what triggers a repair call years before the structure itself is due for maintenance. Our municipal and civil engineering systems page covers how that maintenance cycle typically plays out on pavements, yards, and public structures.
There is no single number, but there are reliable reference points that cover most site conditions:
Two rules of thumb are worth keeping in your head. Curing longer than the minimum almost never hurts anything except the programme. Curing less than the minimum cannot be recovered later — no surface treatment retroactively completes a hydration reaction that never had water.
Ponding, misting, fog spraying, and wet coverings all keep the surface saturated and, helpfully, cool it through evaporation. They are the most effective option for flat slabs and pavements with good access and a water supply. The catch is discipline: wet coverings must be kept genuinely wet, not damp-then-dry, and misting has to continue through the windiest part of the day.
Plastic sheeting, impervious paper, membrane-forming curing compounds, and simply leaving formwork in place all work by stopping moisture from escaping. They suit vertical elements, remote sites, and situations where water is expensive or unavailable. Sheeting needs to be weighted down and kept in contact with the surface; trapped air and flapping edges defeat the purpose.
Insulating blankets, heated enclosures, and steam curing hold the concrete within a favourable temperature band in cold weather. They are about temperature control as much as moisture, and they are usually combined with one of the methods above.
| Method | Best suited to | How it retains moisture | Watch out for |
|---|---|---|---|
| Ponding or immersion | Flat slabs, pavements, yard areas | Continuous standing water | Water supply, edge containment, thermal shock from cold water |
| Fog spray or misting | Hot weather, large exposed surfaces | Fine water film plus evaporative cooling | Wind drift, labour intensity, drying between cycles |
| Wet coverings | Slabs, columns, walls | Burlap or blankets kept saturated | Must be re-wetted regularly; never allowed to dry out |
| Plastic sheeting | Slabs, remote sites | Physical barrier against evaporation | Wind lifting, condensation staining, poor contact |
| Curing compound | Large areas, vertical faces, tight programmes | Membrane film formed on the surface | Coverage rate, application timing, compatibility with later finishes |
| Insulating blankets | Cold weather, thick sections | Moisture retention plus heat retention | Overheating in mild weather, uneven coverage |
Hydration is exothermic, and its rate is temperature dependent. Somewhere between roughly 10°C and 24°C (50°F to 75°F) is comfortable territory for most mixes. Below about 5°C (40°F) the reaction slows sharply and can stall altogether if the concrete freezes while still plastic. Above roughly 30°C (86°F) the concrete sets faster than it can be finished, bleed water disappears, and the risk of plastic shrinkage cracking climbs quickly.
Cold weather calls for insulated forms, blankets, heated enclosures, and a mix that can tolerate the conditions. Hot weather calls for a different set of moves: schedule pours for early morning or night, cool the mix water or aggregates, use evaporation retarders, erect windbreaks, and start curing the moment finishing allows. In both cases the target is the same — keep the concrete inside a workable temperature window for the whole curing period, not just the first afternoon.
On busy sites, water curing is often the first thing sacrificed when the programme tightens. A membrane-forming curing compound is the pragmatic answer for large horizontal areas and vertical faces where wet coverings cannot be maintained. Spray it at the specified coverage rate, as soon as the surface will take it without damage, and check that it will not interfere with any subsequent coating, topping, or adhesive. It is not a licence to skip curing entirely — it is a way of curing that fits how the site actually runs.
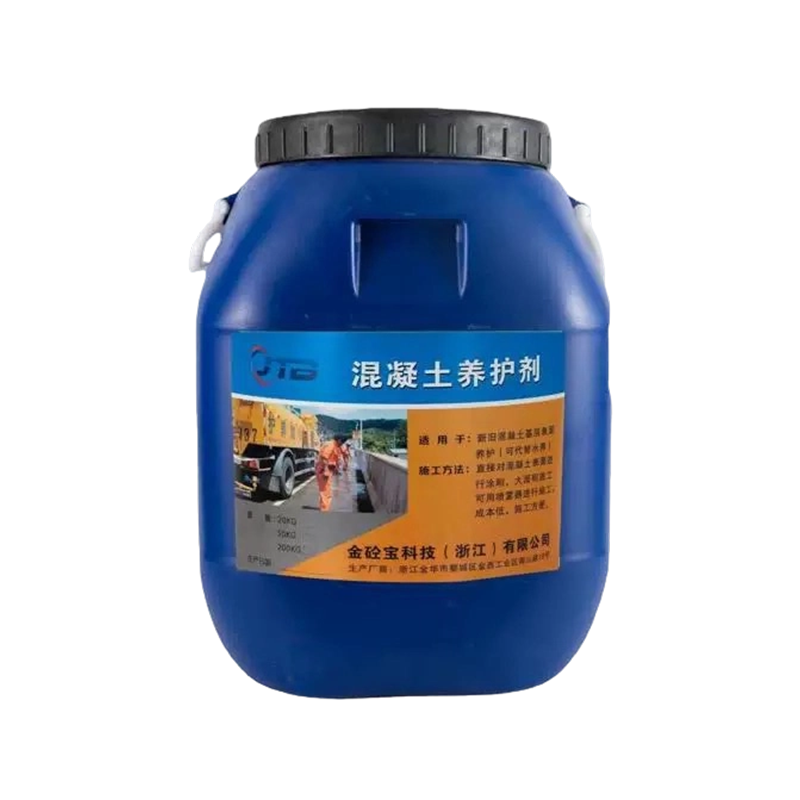 Water-Based Concrete Curing Compound for Site CuringA sprayable membrane-forming curing compound for horizontal and vertical concrete where wet coverings are impractical, offering water retention in hot, dry, windy conditions.View Product →
Where a mix design is being adjusted to make curing easier — extended set times in hot weather, reduced water demand, better workability at low water-cement ratios — it helps to understand what each concrete admixture actually does before it goes into the batch.
Sometimes the weather wins, the water cart breaks down, or the programme simply gets away from everyone. The result is usually a weak, dusty, or crazed surface layer rather than a structural failure — and that layer can be dealt with. A polymer-modified repair mortar restores a sound, durable surface on spalled or delaminated areas, while a surface hardener or densifier chemically improves abrasion resistance on floors that have dusted.
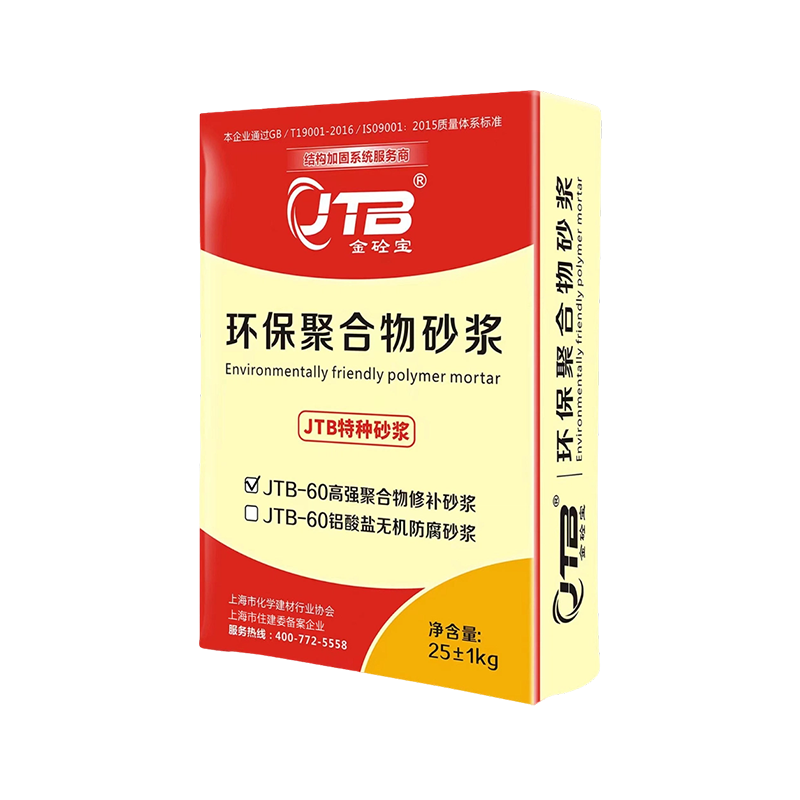 Polymer-Modified Repair Mortar for High-Strength Concrete SurfacesFor restoring spalled or delaminated high-strength concrete, this polymer-modified mortar offers adhesion, early strength and damp-substrate application where surface repair is needed.View Product →
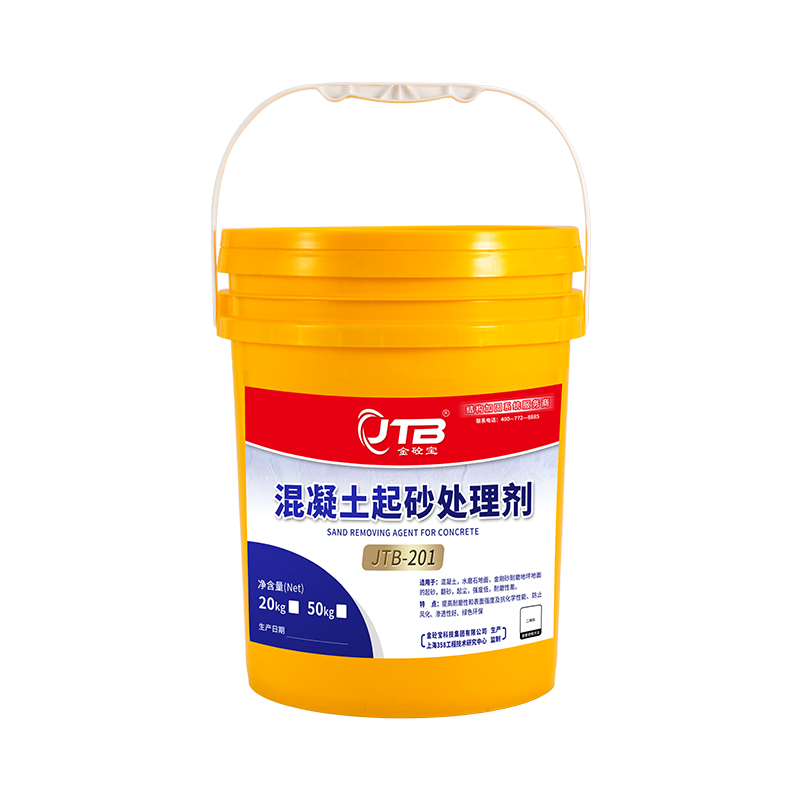 Water-Based Concrete Surface Hardener for Dusting FloorsA water-based inorganic treatment for dusting, sanding or weak concrete floors, improving abrasion resistance on surfaces that need chemical densification rather than repair.View Product →
What cannot be fixed after the fact is the hydration that never happened deeper in the section. That is why the repair conversation always comes back to the same starting point: protect the first seven days and you will spend far less on the next twenty-eight years.
Curing is one of the cheapest operations on any concrete project and one of the most consequential. It asks for water, shade, insulation, or a membrane — plus the willingness to leave a finished surface alone for a week. Get that right and the strength, permeability, and durability you paid for in the mix design actually arrive on site. Get it wrong and no amount of surface repair will fully bring them back.
If you are working through a specification and want a second opinion on curing, grouting, or repair materials for a particular element, our technical team is always happy to talk through the details before the pour rather than after it.
Concrete Curing Compound
VIEW MORE
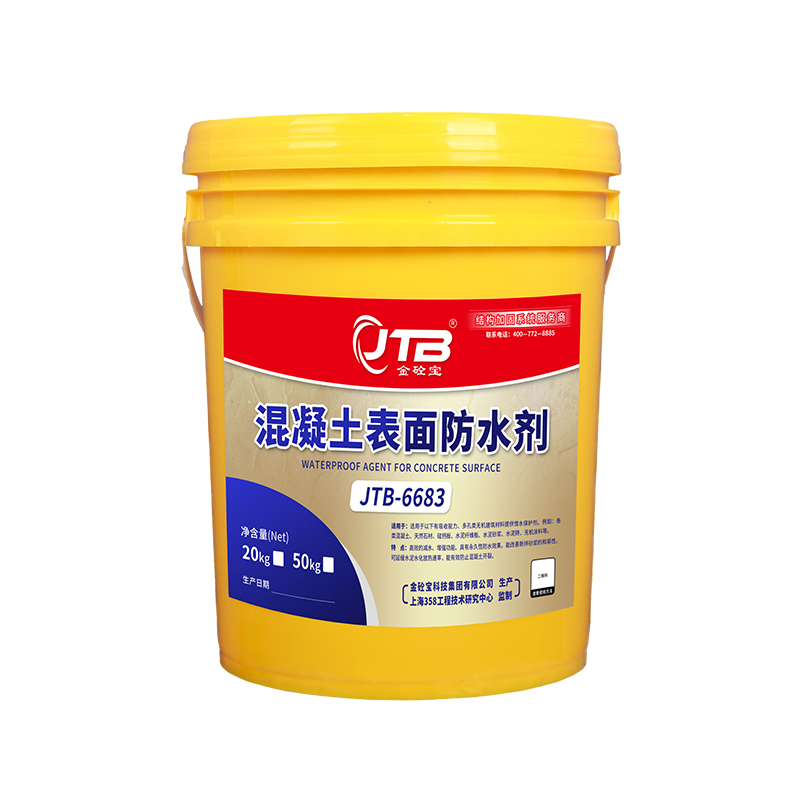 Concrete Waterproofing Admixture
VIEW MORE
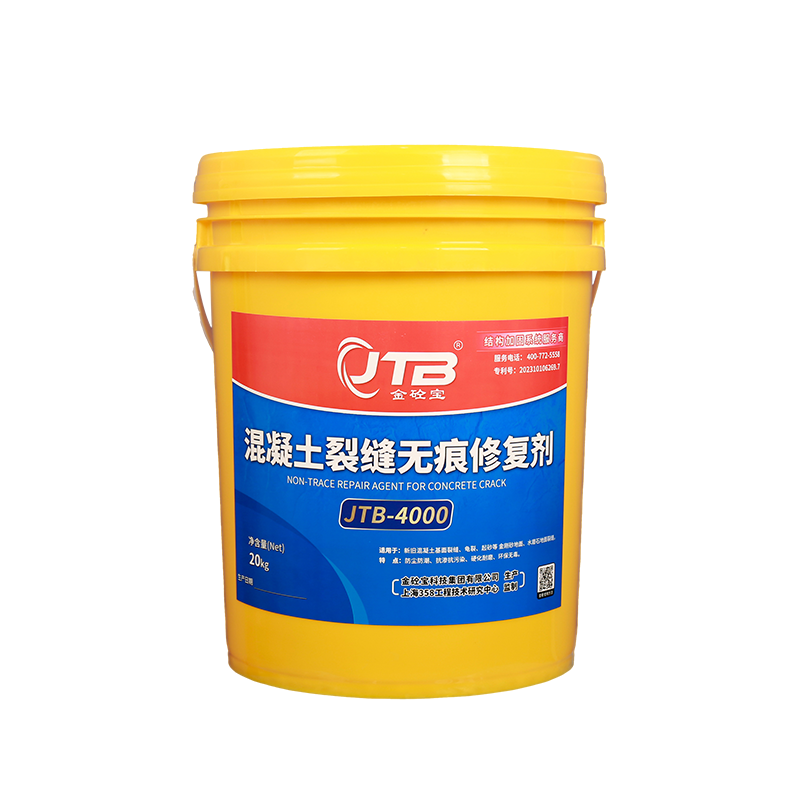 Concrete Crack Repair Agent
VIEW MORE
Concrete Surface Hardener
VIEW MORE
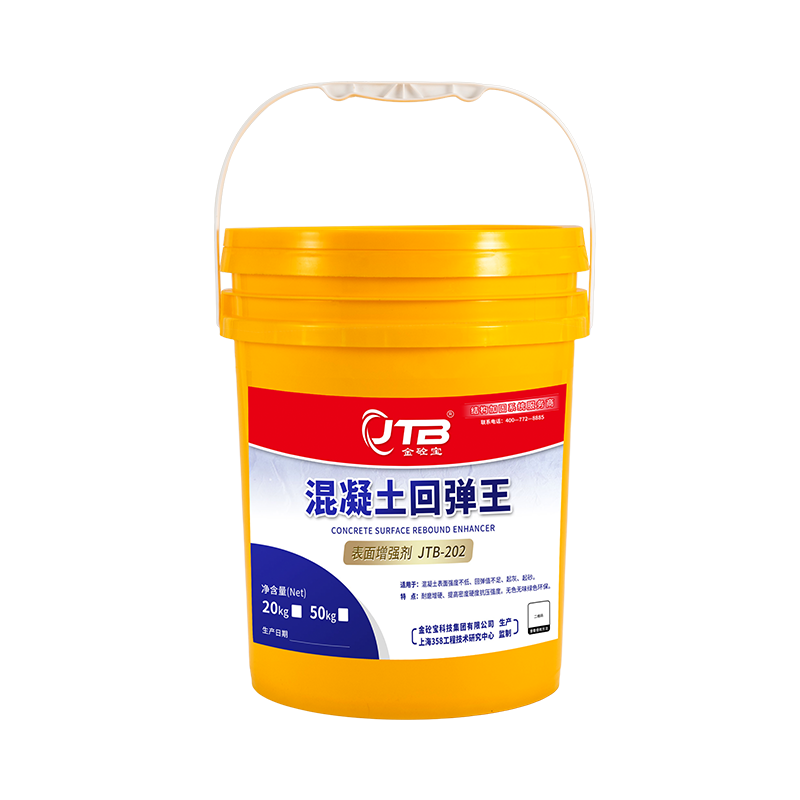 Concrete Surface Strengthener
VIEW MORE
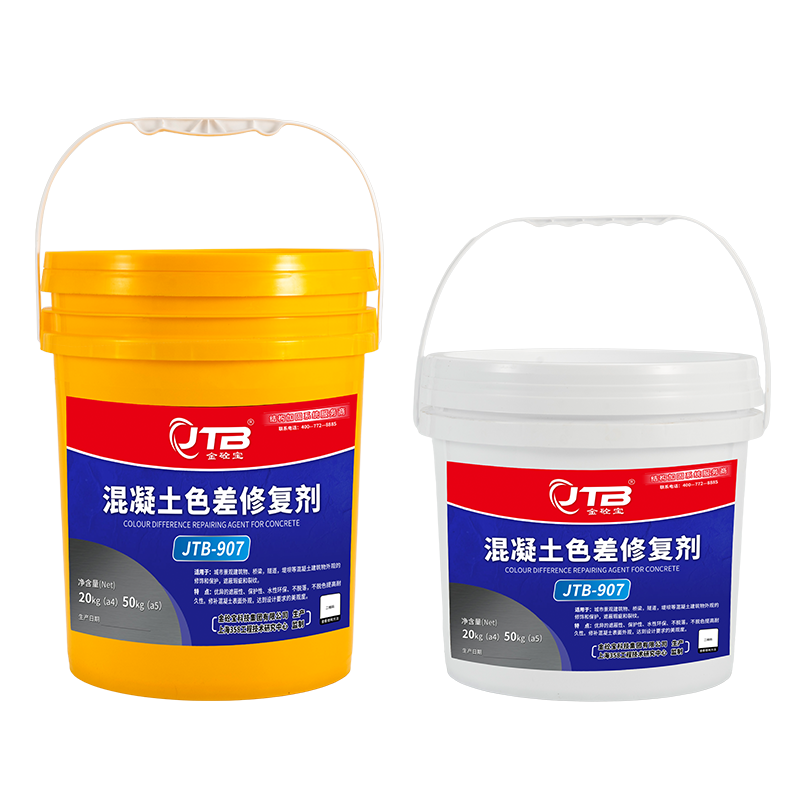 Concrete Color Repair Agent
VIEW MORE
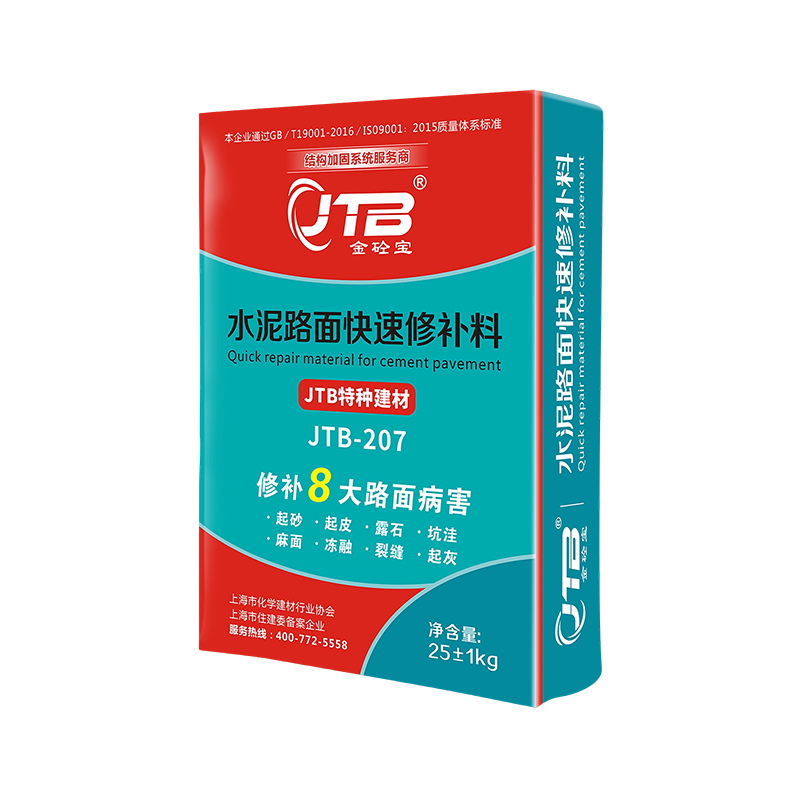 Rapid Repair Mortar for Concrete Pavement
VIEW MORE
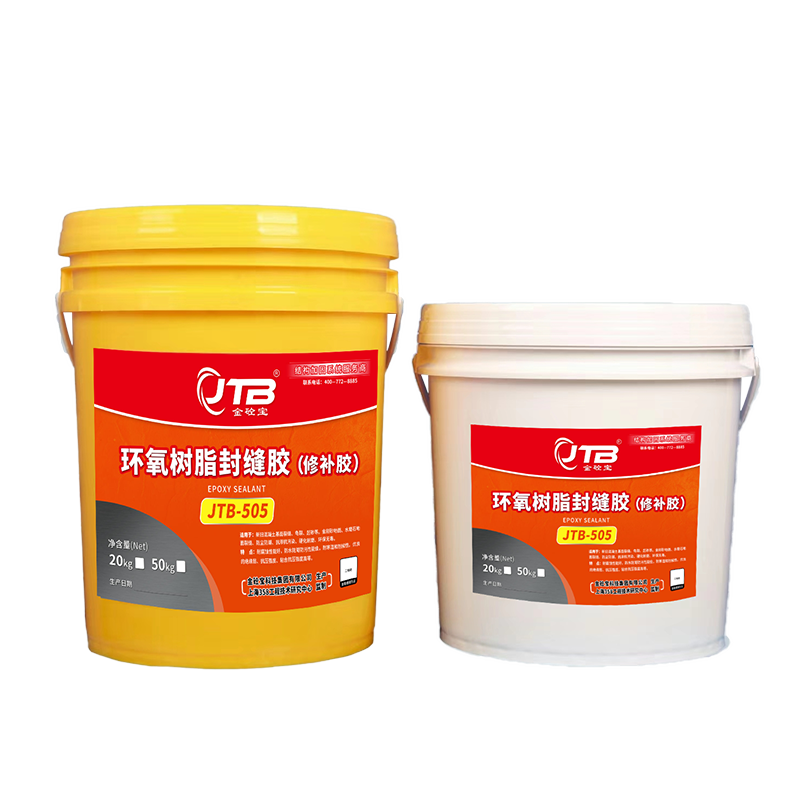 Fast-Curing Crack Sealant
VIEW MORE
Cold joints in concrete slabs raise a fair amount of concern on site, and often they appear when the schedule is alread...
READ MOREAn isolation joint is a full-depth separation between two concrete elements that allows each one to move on its own. If...
READ MORETechnical Engineering Insights Comprehensive Chemical & Mechanical Guide to Concrete Admixtures Modern concrete de...
READ MOREPrecision grouting differs from standard concrete grouting primarily in aggregate size, flow behavior, and shrinkage co...
READ MORE
JTB technology group is a one-stop structural strengthening system service and solution provider with more than 10 years of industry experience.

+86-138 6245 1066
400-772-5558

sales@jtbmaterials.com

Qianjin Hebei Road, Dantu District, Zhenjiang City, Jiangsu Province, China
Copyright © JTB Technology Group Co. , Ltd.All rights reserved.
Cutsom Construction Chemicals & Reinforcement Materials Manufacturer

