
 en
en
 English
 Español
 Structural Strengthening System Service Provider
Product
Company
News


Content
To use concrete repair mortar correctly: remove all loose or crumbling material down to solid concrete, clean and dampen the surface, mix the mortar to a lump-free consistency, apply it in layers no thicker than 20-50mm each, and keep it moist for at least 24-48 hours before allowing traffic on it. Skipping surface prep or applying too much mortar in one pass are the two most common reasons repairs fail early. The sections below walk through each step, how to pick the right mortar type, and how long you actually need to wait before the repair is ready to use.
Use a cold chisel, angle grinder, or grout saw to cut out crumbling or flaking concrete. Chip away material to a depth of at least 3/4 inch (about 20mm) until you reach solid, sound concrete — this step is non-negotiable, since mortar applied over weak substrate will pop off within months regardless of the product used.
Brush out all dust and debris with a stiff bristle brush, then rinse with a pressure washer or strong hose spray. Any dust left behind creates a barrier that blocks proper bonding, so this is worth doing carefully even though it feels like a minor step.
The concrete substrate should be saturated surface dry (SSD) before you apply repair mortar. A dry substrate pulls moisture out of the fresh mortar too fast, which causes surface cracking and weak bonding. Dampen the area just before application, but don't leave standing water.
For concrete-to-concrete repairs, brushing on a liquid bonding agent dramatically improves adhesion. Apply the repair mortar while the bonding agent is still tacky. This one step is often the difference between a repair that lasts a decade and one that fails within a year. Some fast-setting repair mortars are formulated to chemically bond without a separate bonding agent — check your product's technical data sheet first.
Follow the manufacturer's water-to-mix ratio exactly. Use clean water and, where possible, a mechanical mixer for a lump-free, workable consistency. Overwatering weakens the cured mortar's compressive strength; underwatering makes it hard to work and reduces bond quality.
Press the first layer firmly into the repair area with a trowel to eliminate air pockets. Don't fill a deep repair in a single pass — for repair depths greater than 20mm, apply mortar in successive layers of roughly 3/8 inch (about 10mm) each, letting each layer firm up before adding the next. This prevents slumping and ensures solid contact through the full repair depth. For vertical or overhead repairs, choose a sag-resistant, thixotropic mortar specifically designed to stay in place without slumping.
Build the final layer slightly above the surrounding concrete, then mold and blend it to match the original contour once the patch reaches a thumb-print hard consistency — firm enough to hold a faint indentation when pressed, but not yet fully set.
Keep the repair damp for 24-48 hours minimum by covering it with damp burlap, plastic sheeting, or applying a curing compound. Mortar that dries too quickly never reaches its full design strength. Avoid mortar repair work below 40°F or above 90°F, since temperature extremes on either end interfere with proper curing.
Not every repair mortar suits every job. Matching the mortar type to the repair reduces the odds of premature failure:
| Mortar Type | Best For | Notes |
|---|---|---|
| Cementitious mortar | General patch repairs | Easy to apply, cost-effective, good default choice |
| Polymer-modified mortar | Exterior surfaces, flexible substrates | Improved flexibility and adhesion over standard cementitious mixes |
| Epoxy repair mortar | High-strength or chemical-exposure areas | Higher cost, but resists chemicals and heavy loading |
| Thixotropic (sag-resistant) mortar | Vertical and overhead repairs | Stays in place without slumping during application |
| Fast-setting mortar | Time-sensitive or trafficable repairs | Reaches usable strength in hours rather than days; check bonding agent requirements |
Curing time is the step most people underestimate. As a general rule, Portland cement-based repair mortars should be moist-cured for at least 5 to 7 days for best results, though the repair reaches partial strength much sooner:
Thicker repairs take longer to cure through their full depth, since the hydration reaction has to reach the bottom of the patch, not just the surface. Hot, dry, or windy conditions speed up surface drying but can cause the mortar to lose water before it fully hydrates — this is why covering the repair matters even in warm weather.
Small patches, minor spalling, and surface repairs under about 20-30mm deep are generally manageable as a DIY project with the right prep and product. Structural repairs, load-bearing elements, large-area repointing, or repairs involving exposed reinforcing steel are worth handing to a professional — the consequences of a failed structural repair are far more costly than the price of hiring it out. If you're unsure whether a repair is structural, treat it as one until confirmed otherwise.
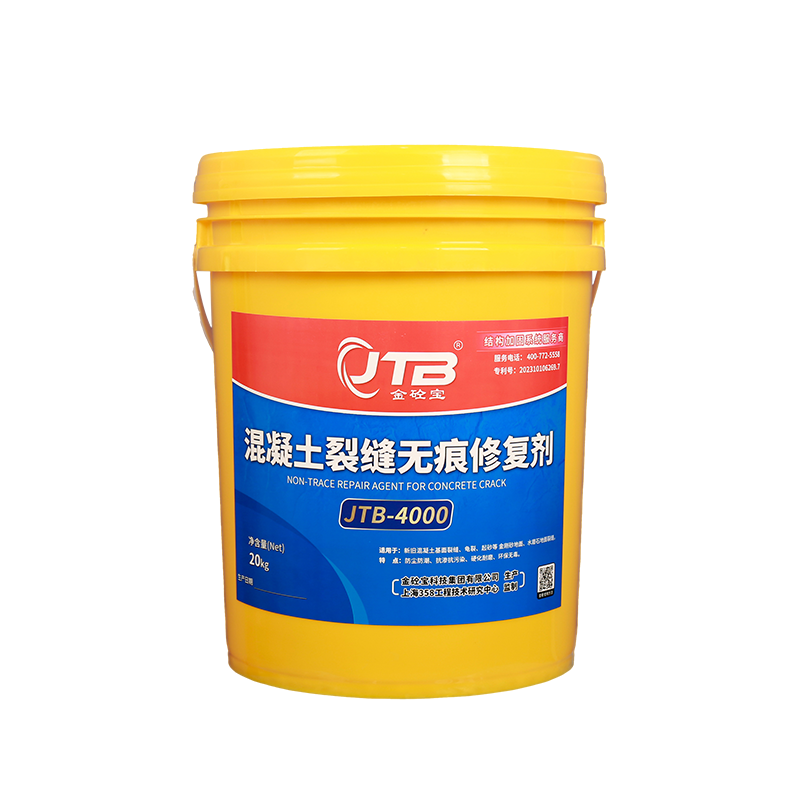 Concrete Crack Repair Agent
VIEW MORE
Concrete Crack Repair Agent
VIEW MORE
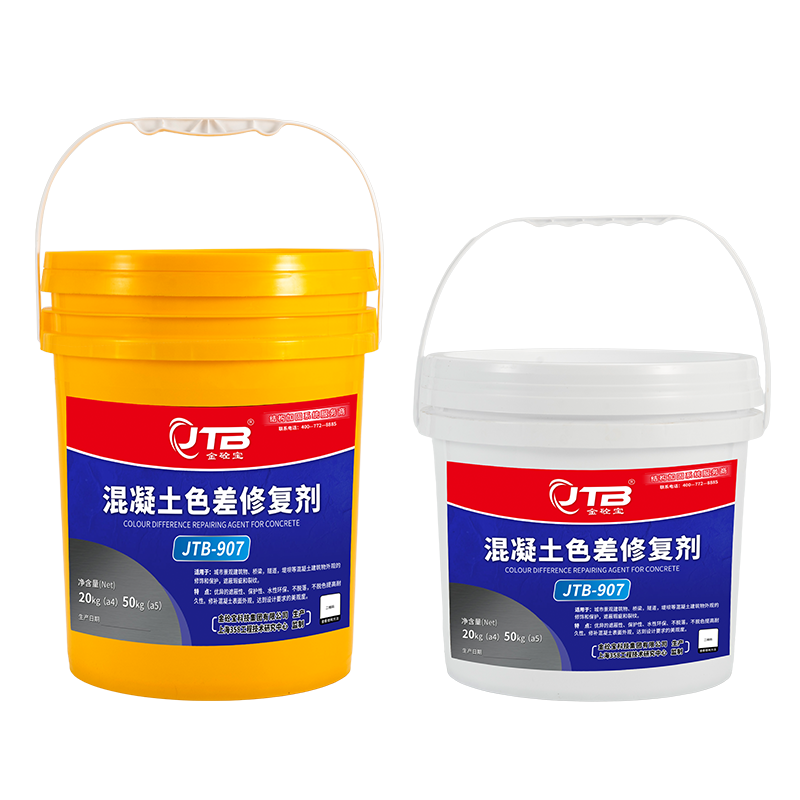 Concrete Color Repair Agent
VIEW MORE
Concrete Color Repair Agent
VIEW MORE
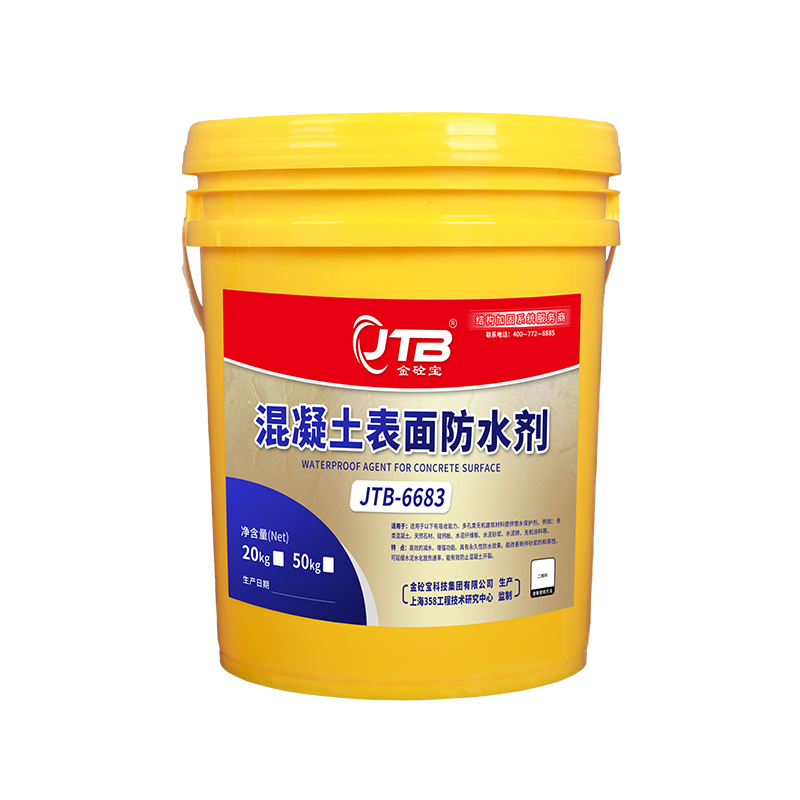 Concrete Waterproofing Admixture
VIEW MORE
Concrete Waterproofing Admixture
VIEW MORE
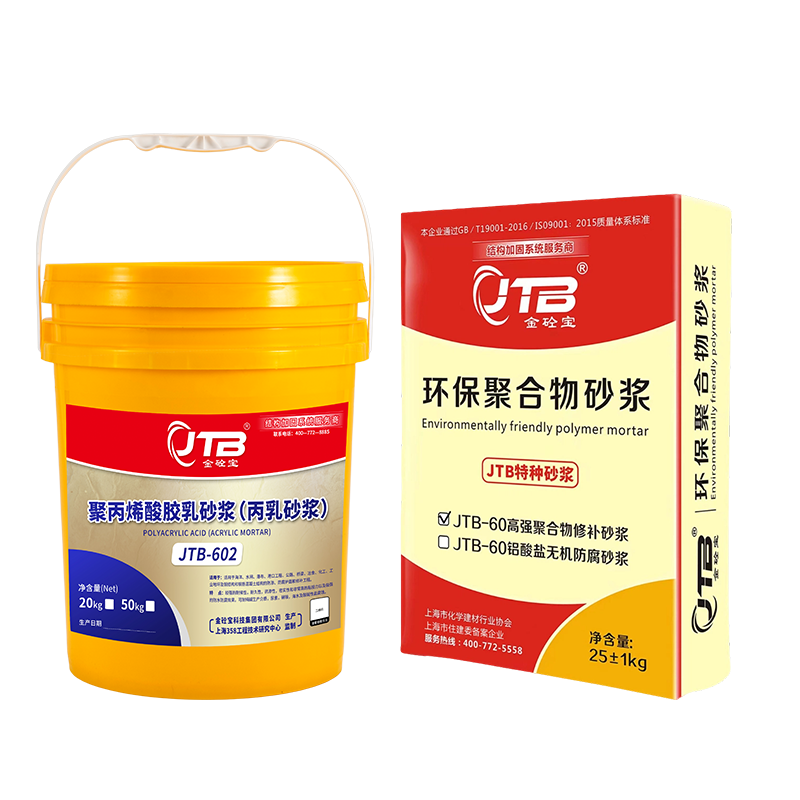 Acrylic Emulsion Mortar
VIEW MORE
Acrylic Emulsion Mortar
VIEW MORE
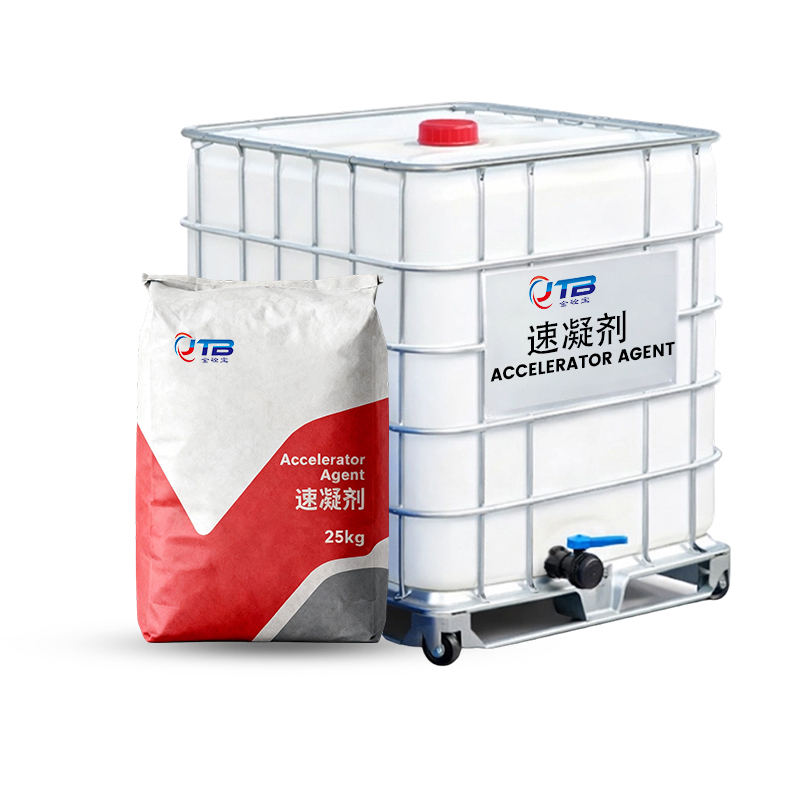 Accelerator Agent
VIEW MORE
Accelerator Agent
VIEW MORE
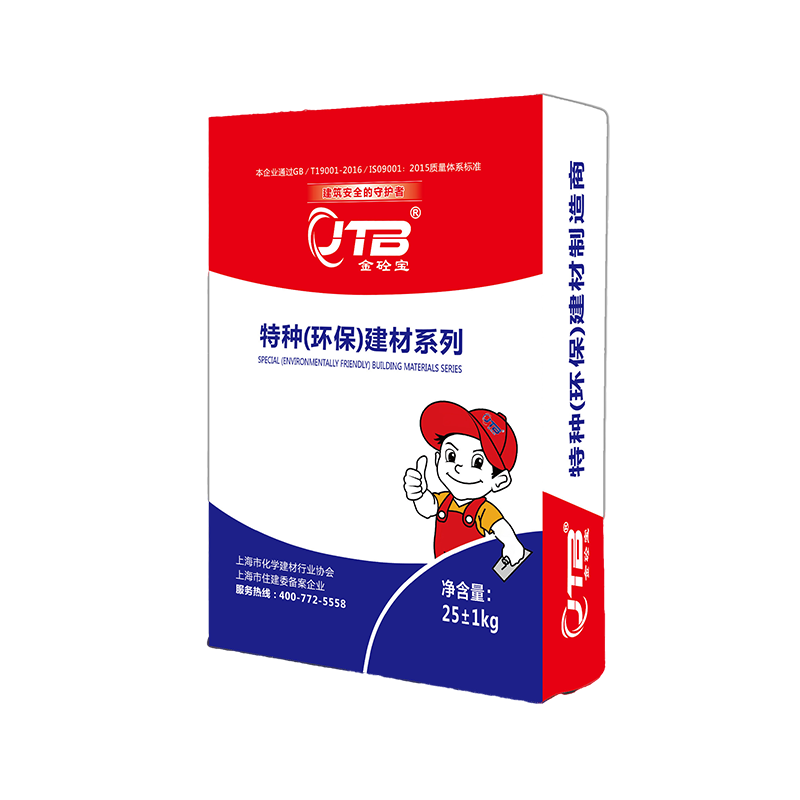 Anti-Static Non-Sparking Mortar
VIEW MORE
Anti-Static Non-Sparking Mortar
VIEW MORE
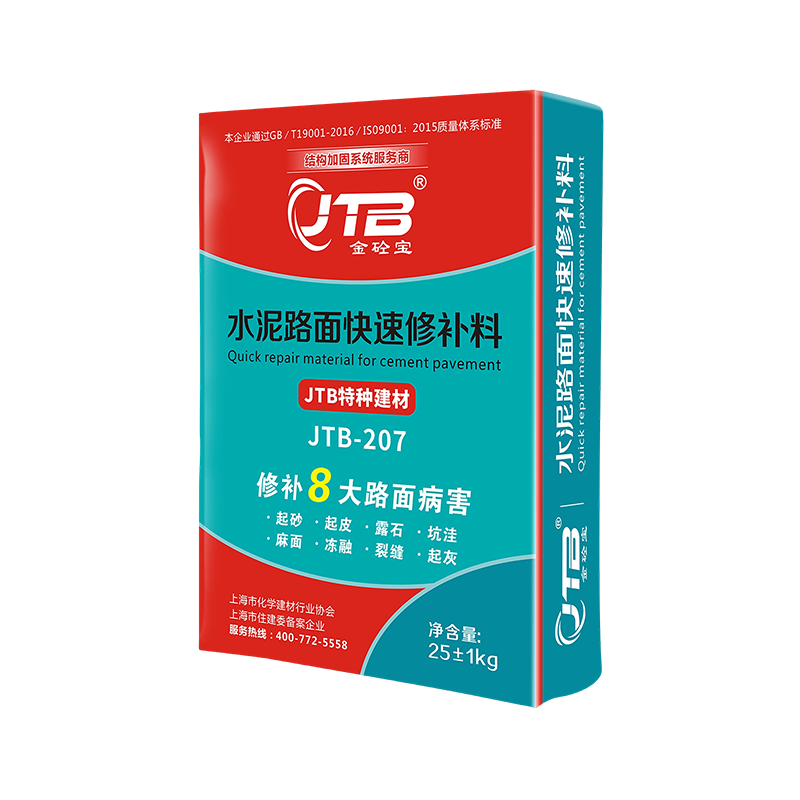 Rapid Repair Mortar for Concrete Pavement
VIEW MORE
Rapid Repair Mortar for Concrete Pavement
VIEW MORE
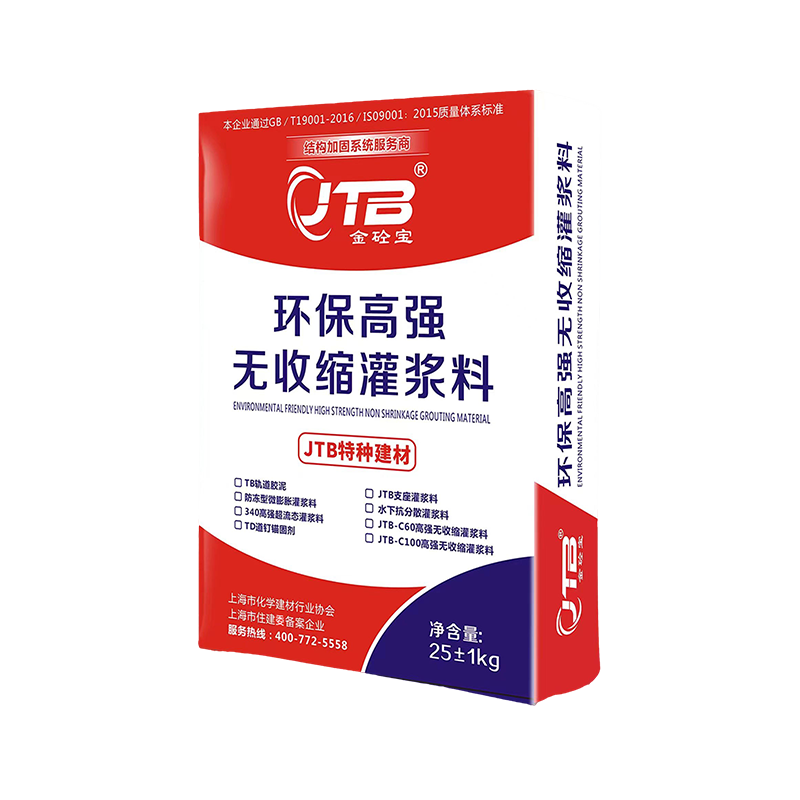 Rapid Repair Mortar for Airport Runways & Bridges
VIEW MORE
Rapid Repair Mortar for Airport Runways & Bridges
VIEW MORE
Introduction to Sulphoaluminate Cement Sulphoaluminate cement, a specialized type of hydraulic cement, is gaining tracti...
READ MORETechnical Engineering Insights Comprehensive Chemical & Mechanical Guide to Concrete Admixtures Modern concrete de...
READ MOREIntroduction to Tunnel Grouting Tunnel grouting is a critical process in construction and civil engineering, particularl...
READ MOREIntroduction to High-Strength Grouting Materials In the modern construction industry, the durability and performance of ...
READ MORE
JTB technology group is a one-stop structural strengthening system service and solution provider with more than 10 years of industry experience.

+86-138 6245 1066
400-772-5558

sales@jtbmaterials.com

Qianjin Hebei Road, Dantu District, Zhenjiang City, Jiangsu Province, China
Copyright © JTB Technology Group Co. , Ltd.All rights reserved.
Cutsom Construction Chemicals & Reinforcement Materials Manufacturer

